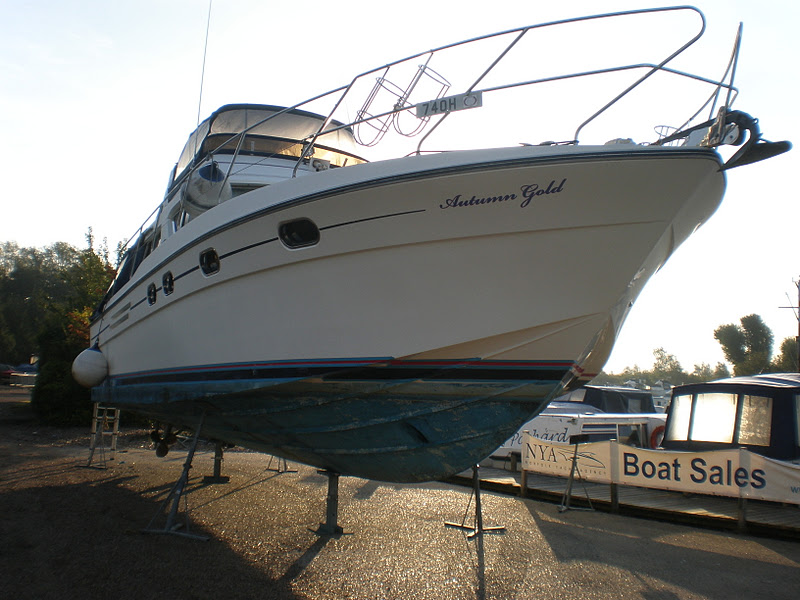
Today’s assignment was at Beccles on the South Broads, carrying out a Pre-purchase Survey on this little Hampton Safari River Cruiser.
In the 1960's, Alec Hampton's boat hire business 'Hampton Boats' at Oulton Broad consisted of a fleet of traditional mahogany cruisers. Alec then designed the mark one Hampton Safari for production in fibreglass. The length was increased from 22' 6" to 25'6" and the beam from 8' 6" to 9' 6". A plug was made from marine plywood, which was then used to form the female hull moulding. The boats were moulded firstly by Rydgeway Marine of Kessingland, and then by Bob Smith of Lowestoft.
Although a total of 256 Hampton Safaris were produced from 1969 to 1982, most were supplied to other hire-boat yards as bare mouldings for their staff to complete. During the peak years, Hampton Boats ran 14 Safari 25's in it's fleet, but this reduced to just two in the final season of 2002. Sadly, the yard has now ceased trading, and will surely be missed by the large regular clientele, some of which have been regulars for nearly 30 years.(Hamptons themselves only built one Safari for private use, in 1971 called 'Blue Tit' for John Jarrold, who was then the Mayor of Norwich.)
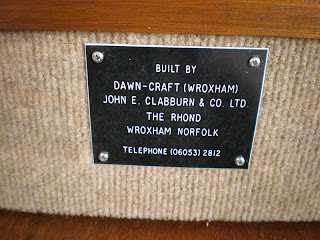
This one was fitted out by John Claburn when he worked for Dawncraft Boats Ltd, and she also went into private owership.


Surveyors comments:
Check for window leaks on older models. To stop windows leaking you may have use a non-hardening caulking so that the caulking can move with the expansion. To deal with this problem, you may have to remove the frames, rebed them and refasten them less tightly than they were previously installed.
Some osmosis blistering will be common... but not usually structural. Its good practice to take the vessel out of the water over the winter period and store her in the dry, out of thus reduce the possibility of further osmotically induced gel coat blistering.
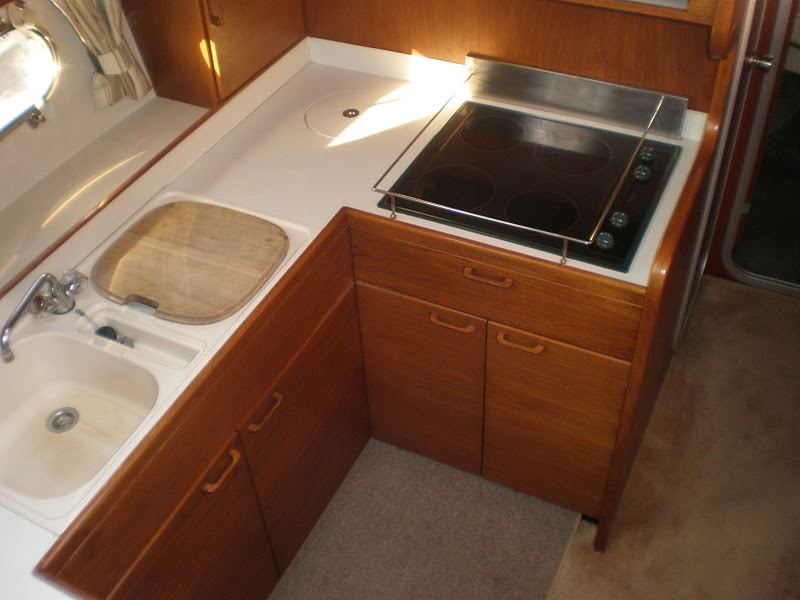
On older models, check all floor bearers and lower bulkheads for timber deterioration.......
Thinking of Buying a Boat and Need Help? I will assist you to make an informed decision. Contact me for a detailed and comprehensive report at: steventruss1@aol.com
In the 1960's, Alec Hampton's boat hire business 'Hampton Boats' at Oulton Broad consisted of a fleet of traditional mahogany cruisers. Alec then designed the mark one Hampton Safari for production in fibreglass. The length was increased from 22' 6" to 25'6" and the beam from 8' 6" to 9' 6". A plug was made from marine plywood, which was then used to form the female hull moulding. The boats were moulded firstly by Rydgeway Marine of Kessingland, and then by Bob Smith of Lowestoft.
Although a total of 256 Hampton Safaris were produced from 1969 to 1982, most were supplied to other hire-boat yards as bare mouldings for their staff to complete. During the peak years, Hampton Boats ran 14 Safari 25's in it's fleet, but this reduced to just two in the final season of 2002. Sadly, the yard has now ceased trading, and will surely be missed by the large regular clientele, some of which have been regulars for nearly 30 years.(Hamptons themselves only built one Safari for private use, in 1971 called 'Blue Tit' for John Jarrold, who was then the Mayor of Norwich.)
This one was fitted out by John Claburn when he worked for Dawncraft Boats Ltd, and she also went into private owership.
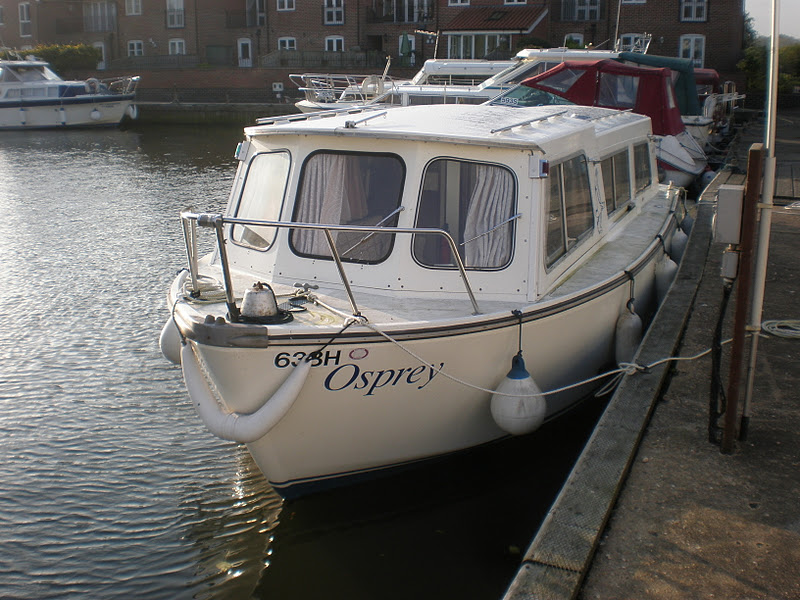 |
| This is the Mark II version with sliding wheelhouse/lounge. They are somewhat difficult to distinguish because individual boatyards completed the Hampton mouldings to their own spec. Mark 1's (usually) didn't have the integral molding for the gas bottle stowage under the afterdeck, or the moulded in mudweight holder on the foredeck. The control panel moulding was different and the keel was smaller |


 |


Surveyors comments:
Check for window leaks on older models. To stop windows leaking you may have use a non-hardening caulking so that the caulking can move with the expansion. To deal with this problem, you may have to remove the frames, rebed them and refasten them less tightly than they were previously installed.
Some osmosis blistering will be common... but not usually structural. Its good practice to take the vessel out of the water over the winter period and store her in the dry, out of thus reduce the possibility of further osmotically induced gel coat blistering.
On older models, check all floor bearers and lower bulkheads for timber deterioration.......
Thinking of Buying a Boat and Need Help? I will assist you to make an informed decision. Contact me for a detailed and comprehensive report at: steventruss1@aol.com